The holidays are a time of year where loved ones come together, people seem a little bit more blissful and magic and miracles seem to pour in. Still, this can be one of the hardest times of year for a ton of people out there. When you are separated from family, living in a foreign place, have a family member who is deployed or you have lost a loved one, it sometimes can seem impossible to get through each day with a positive attitude, especially when beautiful pictures are flooding social media, showing you everything you are "missing out on". A zillion articles have been written about how most of that is just a staged highlight in someone's life and that every person has their problems and issues, so I am not going to cover that in this post. I have experienced a great deal of loss and loneliness, in a foreign country and without ANY family in Germany, so as blessed as I am, I know a thing or two about "making the best" of this often difficult time of year. I have been wanting to write this post the last couple years and after lots of thinking and marinating on things, I finally feel as though I can open up and put my thoughts and feelings out there.

YOU AREN'T ALONE IN THIS...
First of all, you are not alone...well you are (HA!), that's why you are reading this...but you are not alone in being alone. In fact I think you will find that tons of people around you are in the same boat. I guarantee everyone around you is either overwhelmed because they are overbooked and over-tired or they have an underwhelming and lonely schedule. Here are a few things that have helped me and loads of friends who have been through some kind of loss or away from loved ones during these festive times of year. Remember...you are a grown up... and no one is responsible for creating a magical holiday season for yourself, but you. Also, the more you take the focus off of you and think of ways to bless others and bring cheer to them, the happier you will begin to feel.
IT WON'T BE THE SAME-LET IT GO (CUE OVERPLAYED DISNEY SONG)...
Stop trying to make the holidays what they "used to be", when you were a kid, before you lost your home in the recession, before the divorce or loss of loved one, before... well, I will let you fill in the blanks. It WON'T be that. Seriously... It will NEVER be that again. Let it go, whatever "It" is for you. I am not saying that the pain or loneliness will be gone but let go of what the HOLIDAYS were. Life has changed and the holidays will always fall short of what it "used to be" if you are constantly trying to make it what it used to be. Honor and be grateful for that time in your life, that person, that place and store it away with all your happy memories. Embrace where you are now and create new positive memories, that I guarantee you will miss when life goes on and changes again. If you have lost a loved one, honor and celebrate their life, create a new, positive tradition to remember them by. Old traditions are wonderful and are there to make you happy, however, If we are so solid on our traditions and aren't flexible with them, they can cause upset and ruin the day. I have seen people have falling outs with family or hurt peoples' feelings all because "it's tradition" to do it this way, on this day. Let. It. Go.

CREATE NEW TRADITIONS AND BOOK YOURSELF SOLID...
Seriously guys, you will find that so many people have to work, are transplants, are alone and can't afford to go home for the holidays. Start a new friend-family tradition. A few years ago, many of my friends' husbands had to work on Christmas Eve, other friends had family events that were on different days-so they were alone, or had family that they were estranged from. We all would get together, play games and eat and drink. The group has shifted and changed over the years as peoples' families are growing, but this has now become one of my absolute FAVORITE Christmas traditions. It is hard to imagine a traditional Christmas Eve on Christmas Eve anymore. While living in Germany, ALL of my friends over there were away from family or had spouses who were deployed, so I would have them all over and would have them bring their favorite Christmas dish that they ate growing up. We would laugh, share stories and would have the best of times. Christmas Day was spent with my best friend, snuggling with our pups on the couch, watching our favorite childhood Christmas movies, indulging in everything we "shouldn't be eating" and watching the snowfall from my barn window. We would book every weekend with trips to the Christmas Markets or embrace the traditions of the German culture and soak it all in while we were there... We knew with our ever-changing lives, it was going to be a distant and precious memory soon. Quickly, our days were filled to the brim with fun and festive events...we didn't have time to be lonely or feel like we were missing out on things at home. In fact, I started feeling bad for people who were imprisoned by their traditions and didn't get to experience all the other wonderful things the world and other people have to offer, if only they were open to it. It was a Christmas tradition that developed out of extreme loneliness and now that are my most missed holiday traditions. I have peppered in some pictures of Christmas overseas so you can get inspired to get out there and see new things. Like I said above, I appreciate it and honor it and remember it with love, but am enjoying where I am now, with the people that I am with...NOW. Only realizing now, that had I sat alone in Germany missing Christmas in California, I would have missed out on these incredibly precious memories. The same could be said about me not enjoying where I am in this moment and longing for Europe again.

I am almost positive that after talking to your friends and family, there is someone who would love to invite you to a meal, or coffee... or just invite them, sillies! In fact my best girlfriend and I decorated our homes together via Skype this year because we didn't want to do it alone... It was such a fun day! If you have tons of family plans, reach out to those that aren't so lucky and invite them... You have no idea how much it means to someone who may otherwise be alone. Will it really ruin your tradition so much that you can't make someone else's holiday????? When I was completely alone in Europe, I had so many acquaintances reach out to and include me. They are now some of my closest friends in the world. You really have no idea how much including someone else in your family events can mean to them until you have experienced being alone yourself.
HOW CAN YOU SERVE OTHERS
Still have no plans for the holidays? Find out all your friends who have to work that day, make them cookies, bring them coffee to work, stop by and visit. Drop gift packages off at peoples' front door to wish them a Merry Christmas. Do the obvious and volunteer to feed the homeless or visit people in the hospital or at a retirement community. Call your local Base or church and see what is needed. When you remove yourself from the equation and bless others, you will be so "filled" with gratitude and joy... It's a biblical and universal law. End of story.
LAST BUT NOT LEAST...
Stop making excuses as to why the holidays are crappy for you. Create your own dang traditions and magic... Sleep in, watch a good movie, take your pup for a walk with your favorite holiday drink... collect items from the forest and create a bomb-diggity forest scene in your home, I don't know, but get off your fanny and choose to make the best of the season. It took me a couple years of dealing and coping with some difficult and very real things in my life to learn and realize all of this, but it sure has helped now that I have. The real reason for the season is the birth of our Lord and Savior. Focus on HIM and you will NEVER be alone.


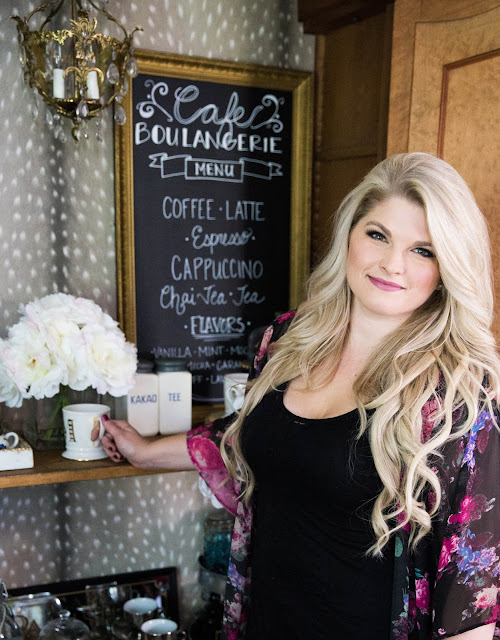
 Here is my space now! On a side note, the pictures below are a combination of some that I took and some were taken by the ridiculously talented,
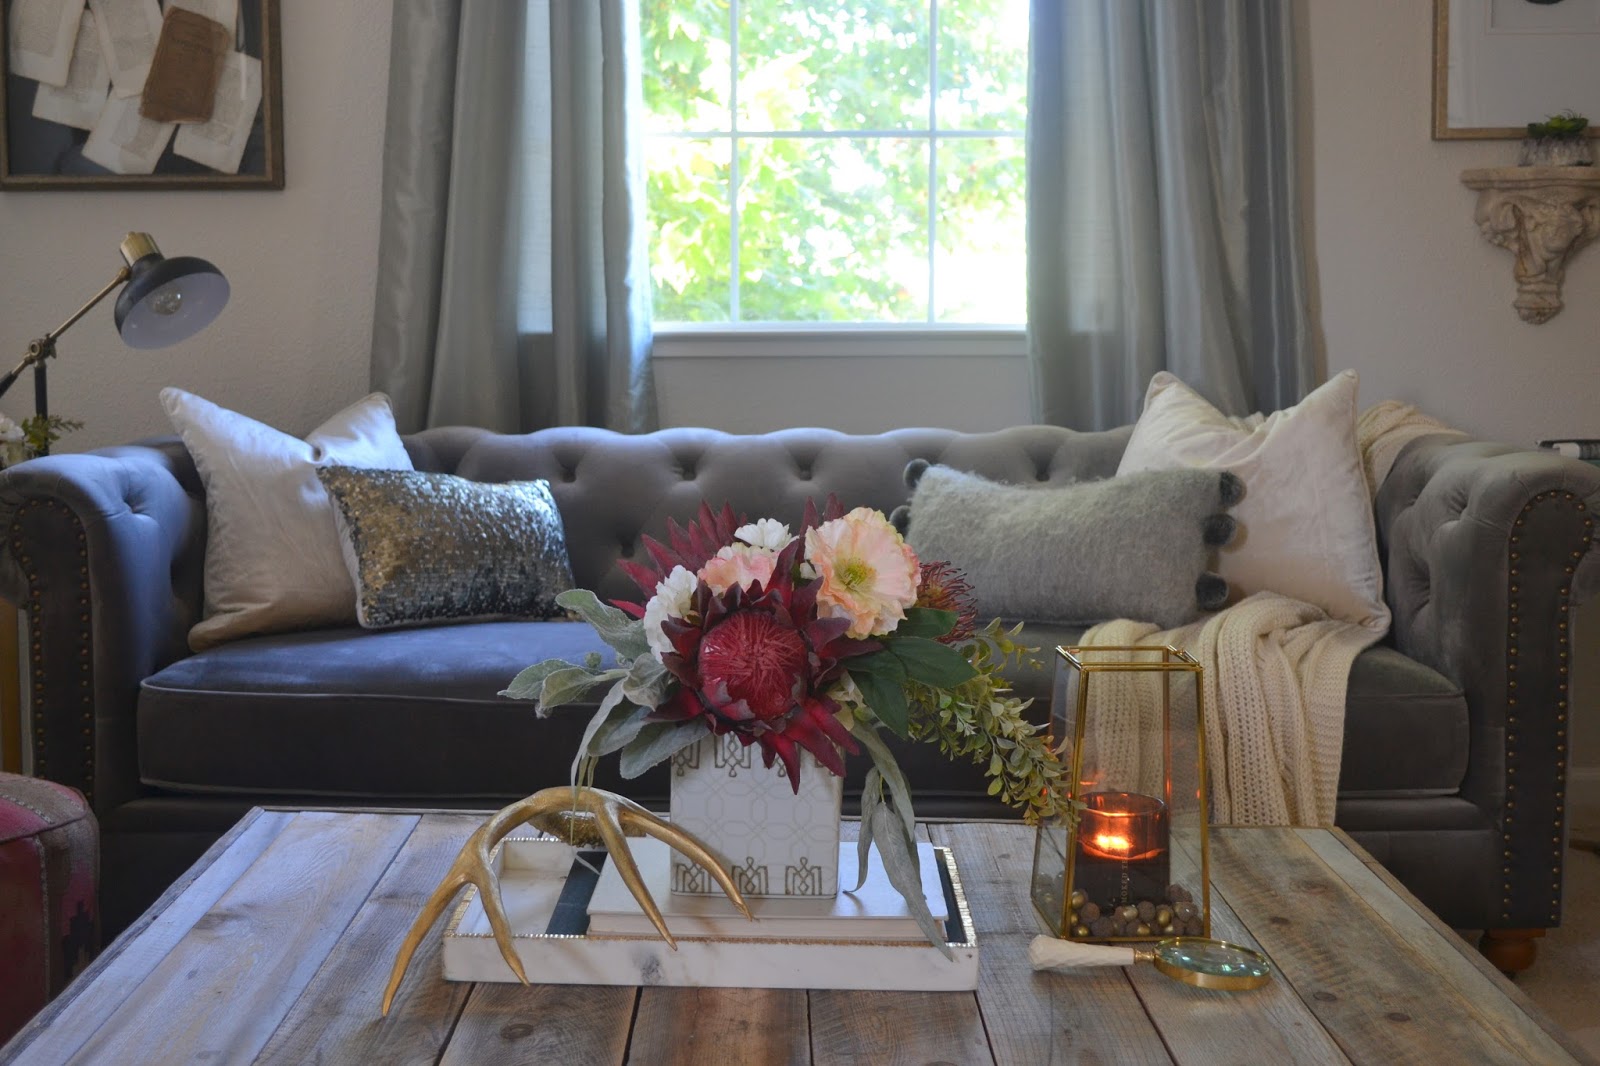
  I finally got a chesterfield that I have been wanting for years and moved the white sofa to where I had two gray wing backs. The lightness of the sofa and the height of its back really brightened up the space, opened the room up and has now allowed for more seating!