Friday, September 30, 2011

Inspiration and A Pop-Up Art Tutorial

Hey everyone! I wanted to do a quick tutorial on how to make your own pop-up artwork. Before I get into that, I wanted to share something with you all! As I was reading one of my very favorite blogs Isabella & Max Rooms, I stumbled on a post Janell wrote with this quote. I thought it was something that we all should think about. It's easy to let comparison take away our joy and not let us do what we were created to do!
Thank you Janell for sharing that with us! Also be sure to check out Janell's blog to see her beautiful design work...she is a top notch designer that I can learn a lot from.
And now for the custom pop out art tutorial!
This project works great for both vintage and contemporary images. To create this, I took images of my client's brother's artwork and had them sized into 8"x10" rectangles at Kinkos. Printing them on the finest paper they had came to a grand total of about $3.00. I bought black foam-core board from Michaels Arts and Crafts Store and they cut it for free into 8"x10" rectangles. I took a poster frame, painted the backing black and took out the glass.

 The way to do a clean paper mount is to paint the backs of both the picture and the foam-core boards and allow them to FULLY dry. Once it is dry, put the backs together and it will be a beautiful and clean mount. The awesome thing about rubber cement is that it won't make the paper buckle and if you accidentally get it on anything, it will peel right off.
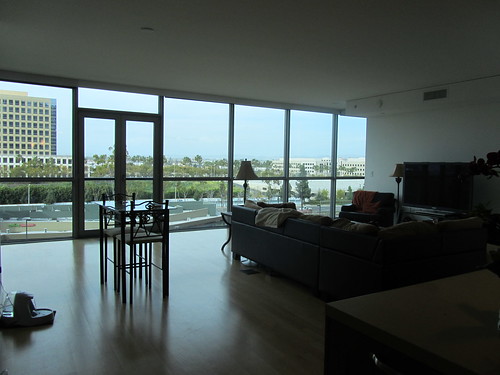
Attatch the boards to the backboard in any arrangement you want, I used hot clue to attatch them. Make sure you get rid of all the glue strings before hanging. Because this was a transitional apartment, I wanted it to be very clean looking. Be sure to not add the glass and the art will pop right out of the picture. Enjoy making your quick and custom pop out art!! To see the rest of the apartment click on the picture below.


Pin It

Saturday, September 24, 2011

The Reveal of My Latest Design Job!

Greetings everyone! I just came back from my amazing trip to Southern California. I just finished designing a spectacular high-rise transitional style apartment with a stunning view of the city. I was so blessed to be able to work with such wonderful clients, Stephanie Marchione and Brendan Kirkpatrick. They gave me complete artistic license which allowed for my complete vision to unfold. I finished designing this morning just a few minutes before running to catch my plane. I wanted to give you all a tour of the finished project that I have been so passionately working on! Enjoy!
Before pictures of the apartment.
And... here is the after!


These are the same lamps as in the before pictures. All I did was paint them and change the lampshades. They look completely different!
We used this very handsome hat box to store t.v. remotes, video game controls, and coasters.


If you couldn't tell, I love decorating with (fake) animal body parts ;)


Because this is a transitional and glamorous style apartment, I wrote on a mirror instead of a chalkboard.
I adore this tree stump side table below, it adds so much character!


The coffee table above, was a crummy dated looking oak table off of craigslist that we painted a high gloss white.


I wrapped the client's old text books with simple paper to bring clean lines and a brightness to the bookshelves. It's a fantastic and almost free filler and way to bring color and dimension to a space. 


 We will be mounting a stainless steel fireplace on the dining room wall above. Pictures of that to come soon!


The wall above will eventually have an espresso bar that we will be creating. The gorgeous contemporary art work shown above and on the dining room wall was painted by my client's brother Curt Marchione. We mounted the paintings on foam core board so they would pop out from the backing. Tutorial coming soon!


Hope you enjoyed this little tour!


Pin It
Related Posts Plugin for WordPress, Blogger...